Installation
The following guide explains how a default Tasxs instance can be installed.
Download and Install
- Click here to download the latest version of Tasxs.
- Extract the content of the archive into a directory of your choice. We will refer to this directory as the install directory (INSTALL_DIR)
Zip files should be unblocked before their contents are extracted to avoid possible security issues. To unblock the file, right-click it in Windows Explorer, choose Properties from the context menu, click the Unblock button in the lower right-hand corner of the resulting dialog, and hit OK.
Register the service
You can use the "Register Service.cmd" file to register the service that is included in the zip file. Make sure you have the administrator rights before executing the file.
- Go to the INSTALL_DIR directory.
- Right click the "Register Service.cmd" and click "Run as administrator".
The service will be created and the following will show indicating that the registration is successful.
[SC] CreateService SUCCESS
- Press any key to close the window.
Start the service
Services are managed in the Windows Services Manager.
- Open the Control Panel.
- Go to System and Security > Administrative Tools.
- Double click the Services shortcut icon.
- On the Windows Services Manager, search for the Tasxs Service.
- Right click it and select Start.
Test the application
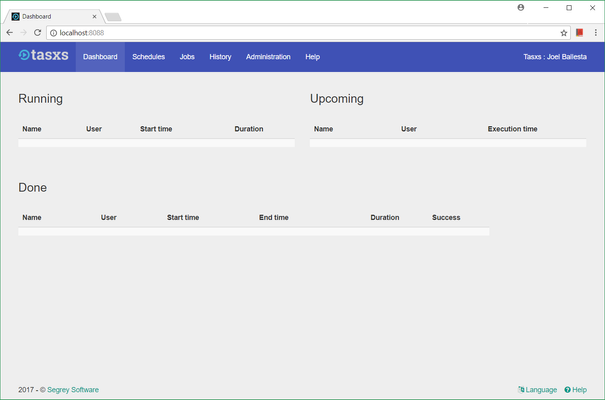
To test if Tasxs is running properly, open a browser and enter the URL that you set in the config file. The Dashboard will show like as follows.
Please note that the first user who opens the application will become the first administrator. But still, you can add other users as administrators in the Adminstration module. Please see the user guide for the instructions.